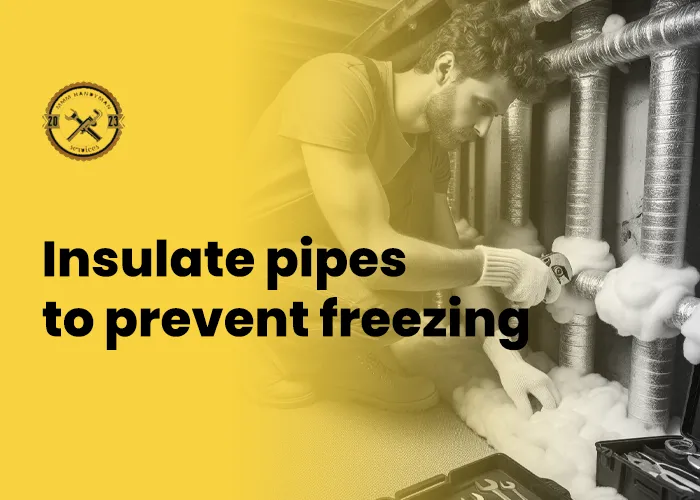
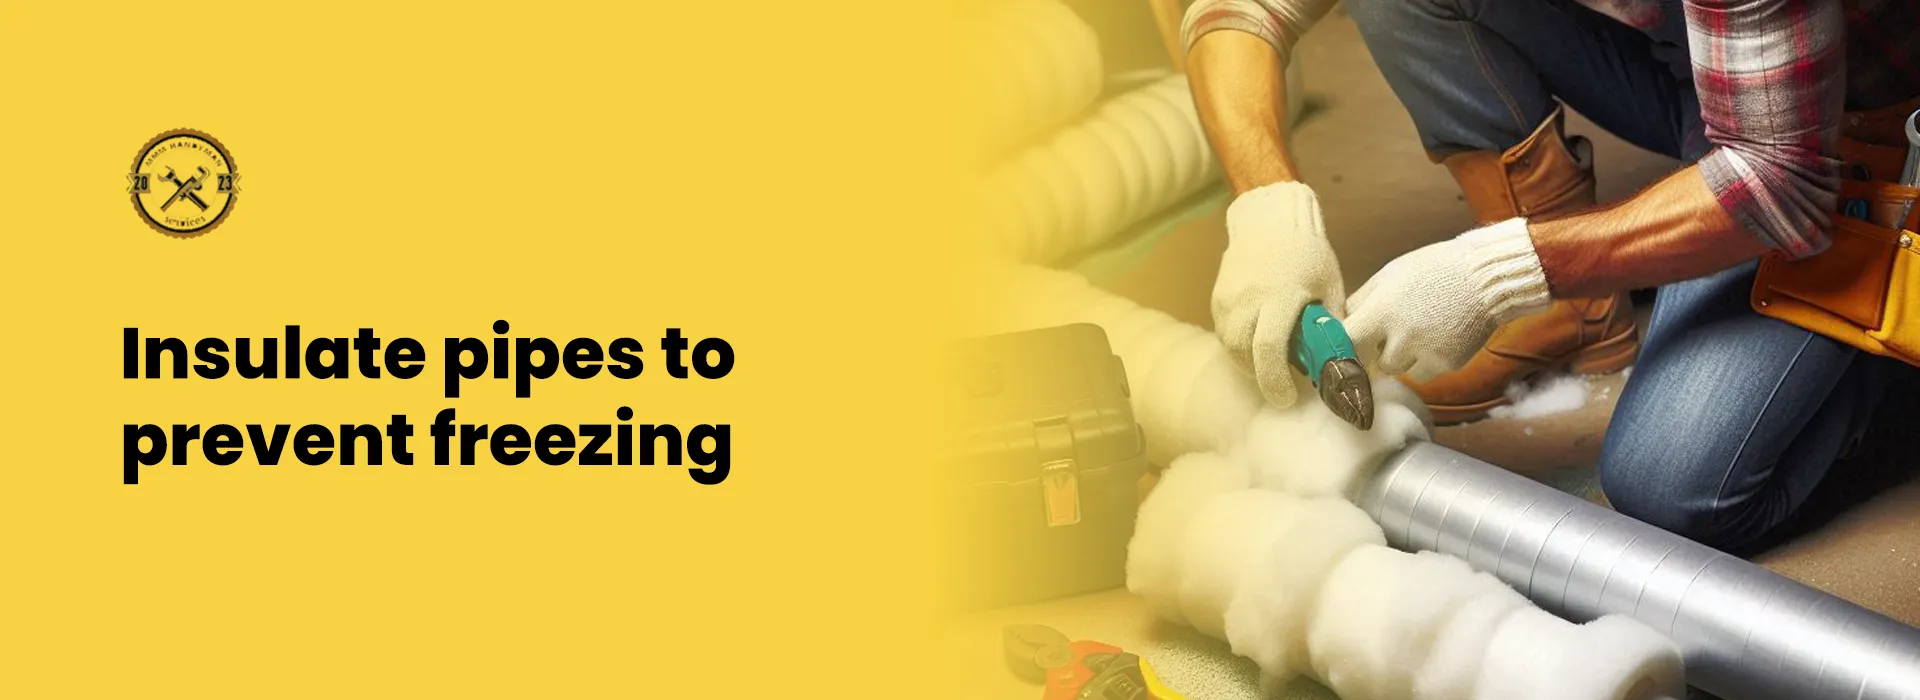
How to Insulate Pipes to Prevent Freezing: A Comprehensive Guide
Winter can bring joy with its snow-filled landscapes and chilly evenings, but it also poses challenges, especially when it comes to plumbing. Frozen pipes are not just a minor inconvenience; they can lead to significant damage, costly repairs, and even a temporary loss of water supply. Insulating your pipes is a simple yet effective way to protect your home and ensure smooth water flow during cold months. This guide will walk you through why and how to insulate pipes to prevent freezing.
Table of Contents
Why Pipe Insulation Is Essential
Pipes exposed to freezing temperatures can develop ice blockages. When water freezes, it expands, exerting immense pressure on the pipe walls, potentially causing them to burst. This results in water leaks, structural damage, and expensive repairs. Insulating your pipes acts as a protective shield, helping to maintain a consistent temperature and reducing the risk of freezing.
Benefits of Pipe Insulation:
- Prevents Freezing: Keeps water flowing during extreme cold spells.
- Saves Energy: Reduces heat loss in hot water pipes, lowering energy bills.
- Prevents Condensation: Stops moisture buildup on cold water pipes, reducing the risk of mold.
- Minimizes Repair Costs: Avoids costly damages caused by frozen or burst pipes.
Materials for Pipe Insulation
Before beginning the insulation process, choosing the right materials is crucial. Several types of insulation are available, each suited for specific needs:
Foam Pipe Insulation:
- Made of flexible polyethylene or rubber.
- Easy to install with a slit design for fitting over pipes.
- Provides excellent thermal resistance.
Fiberglass Insulation:
- Ideal for high-temperature pipes.
- Comes with a foil or vinyl facing to act as a vapor barrier.
Pipe Wraps:
- Made from fiberglass, foam, or reflective tape.
- Versatile and suitable for irregularly shaped pipes.
Heating Tape:
- An electrically powered solution that provides direct heat to pipes.
- Useful for areas prone to extreme cold.
Steps to Insulate Pipes
1. Identify Vulnerable Pipes
Inspect your home to locate pipes most at risk of freezing:
- Pipes in unheated areas like basements, attics, crawl spaces, and garages.
- Exterior pipes or those near poorly insulated walls.
2. Measure the Pipes
Use a measuring tape to determine the length and diameter of the pipes. This helps in selecting the correct amount and size of insulation material.
3. Choose the Right Insulation
Select the material based on pipe location and the level of protection needed. For instance, foam sleeves are ideal for indoor pipes, while fiberglass is better for outdoor or high-temperature pipes.
4. Prepare the Pipes
Clean the surface of the pipes to remove dust or debris. Ensure the pipes are dry before applying insulation to prevent moisture from being trapped.
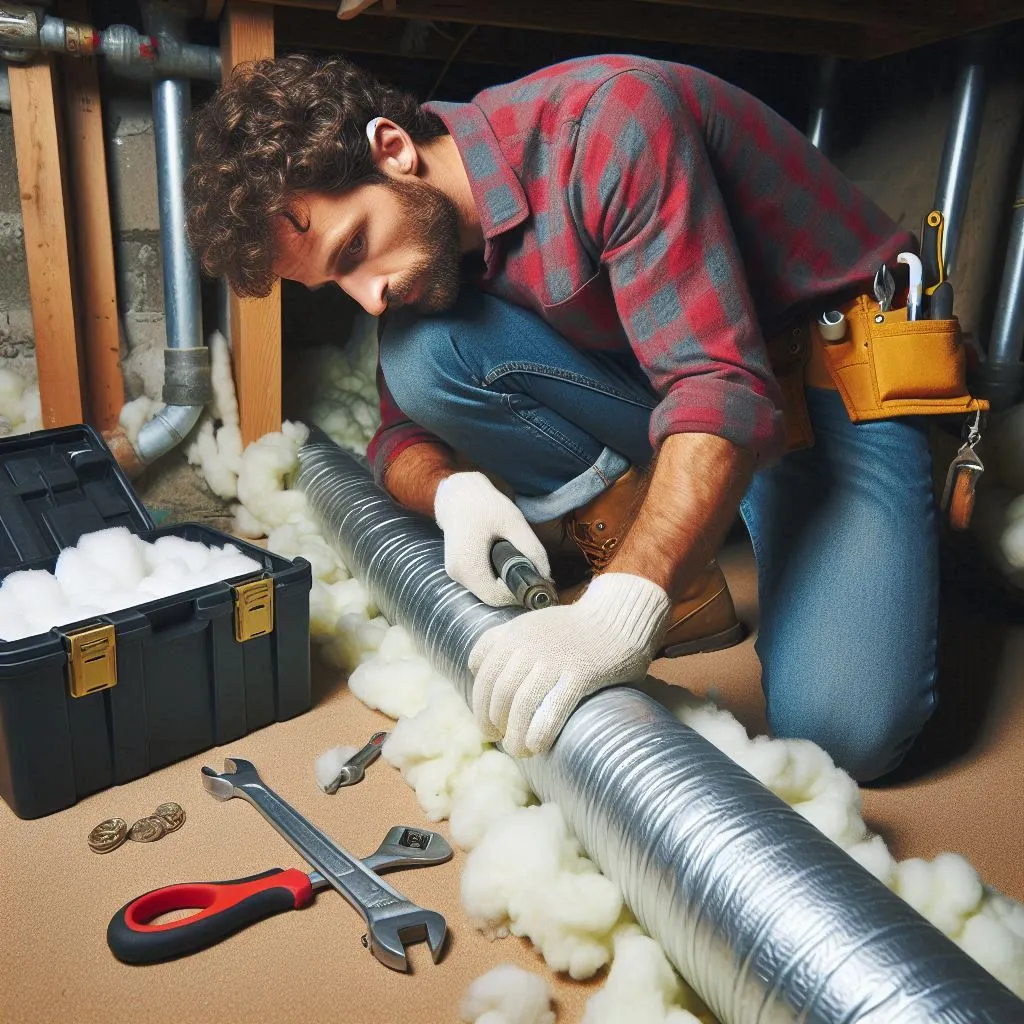
5. Apply the Insulation
- Foam Insulation: Open the slit and wrap it around the pipe. Secure it with adhesive tape or zip ties.
- Fiberglass Wrap: Cut the wrap to size, ensuring it overlaps slightly. Secure it with foil tape or straps.
- Heating Tape: Attach the tape directly to the pipe, following the manufacturer’s instructions, and cover it with an insulation layer.
6. Seal Gaps
Use pipe insulation tape or spray foam to seal joints, corners, and gaps where pipes enter walls or floors.
7. Secure the Insulation
Ensure the insulation stays in place by using zip ties, tape, or wire where necessary.
Additional Tips for Freezing Prevention
Maintain Indoor Heating:
- Keep your home’s thermostat at a consistent temperature, even when you’re away.
Let Faucets Drip:
- During extreme cold, leave a slow drip from faucets to keep water flowing and relieve pressure buildup.
Install Pipe Covers:
- Use outdoor faucet covers to protect exterior pipes.
Insulate Exterior Walls:
- Add insulation to walls near pipes to provide an extra barrier against the cold.
Drain Outdoor Pipes:
- Disconnect hoses and shut off the water supply to exterior faucets before winter.
When to Seek Professional Help
Although insulating pipes is a relatively simple DIY task, some situations may require professional assistance:
- Hard-to-reach pipes in walls or ceilings.
- Complex plumbing systems.
- Severe damage caused by previous freezing.
Professional plumbers can provide tailored solutions, such as rerouting pipes or installing advanced insulation systems.
Cost Considerations
The cost of insulating pipes depends on factors like material, labor, and the size of your plumbing system. On average:
- Foam insulation costs $1–$2 per foot.
- Fiberglass wraps cost $2–$4 per foot.
- Professional installation ranges from $100 to $300, depending on the project scope.
While there is an upfront cost, the long-term savings from avoided repairs and energy efficiency make it a worthwhile investment.
Insulating pipes is a proactive measure that can save you from the headaches and financial strain of frozen or burst pipes. By identifying vulnerable pipes, selecting the right materials, and following the installation steps, you can effectively protect your plumbing system during winter. Whether you’re tackling it as a DIY project or hiring a professional, pipe insulation ensures peace of mind and uninterrupted water supply through even the coldest months.