
How to Repair Wall Cracks Effectively : A Homeowner’s Guide
Cracks in walls can be a homeowner’s worst nightmare. Whether they appear suddenly or gradually over time, they can be unsightly and might even cause concern about the integrity of your home. However, before you panic or call in a handyman , it’s essential to understand the nature of these cracks and how to repair them effectively. With a little patience and the right tools, you can tackle this DIY project and restore your walls to their former glory.
Understanding the Types of Wall Cracks
Before you grab your tools, take a moment to assess the cracks in your walls. There are primarily two types of cracks you might encounter:
Hairline Cracks: These are very thin cracks that usually result from minor settling of the building and are generally cosmetic. While they may look concerning, they typically don’t indicate serious structural issues.
Structural Cracks: These cracks are wider and can indicate a more significant problem, such as foundation settling or water damage. If you notice cracks that are larger than 1/4 inch or if they’re accompanied by other signs of damage (like doors or windows that stick), it’s wise to consult a professional.
Step-by-Step Guide to Repairing Hairline Cracks
For hairline cracks, the repair process is relatively straightforward. Here’s how you can do it:
Materials Needed:
- Joint compound or spackling paste
- Putty knife
- Sandpaper (fine-grit)
- Primer and paint (to match your wall color)
- Clean cloth
Steps:
Clean the Area: Start by cleaning the crack and the surrounding area. Use a damp cloth to remove any dust or debris, ensuring that the compound adheres well.
Apply Joint Compound: Use your putty knife to scoop out a small amount of joint compound. Gently press it into the crack, smoothing it out so it’s flush with the wall. Try to feather the edges for a seamless finish.
Let It Dry: Allow the joint compound to dry completely. This usually takes about 24 hours, but check the manufacturer’s instructions for specific drying times.
Sand the Area: Once dry, use fine-grit sandpaper to gently sand the area until it’s smooth and matches the surrounding wall. Be careful not to oversand, as you want to maintain a level surface.
Prime and Paint: Finally, apply a coat of primer followed by paint to blend the repair with the rest of the wall. You may need two coats of paint for full coverage.
Repairing Structural Cracks
If you’ve determined that the cracks in your walls are structural, the repair process will require more effort and possibly additional materials. Here’s a general approach:
Materials Needed:
- Epoxy or polyurethane crack filler
- Concrete repair caulk (for larger cracks)
- Trowel
- Chisel
- Wire brush
- Vacuum cleaner
- Paint (if needed)
Steps:
Assess the Crack: For structural cracks, first, assess the situation. If the crack is accompanied by other signs of damage, such as bulging walls or sloped floors, consult a structural engineer or foundation repair specialist before proceeding.
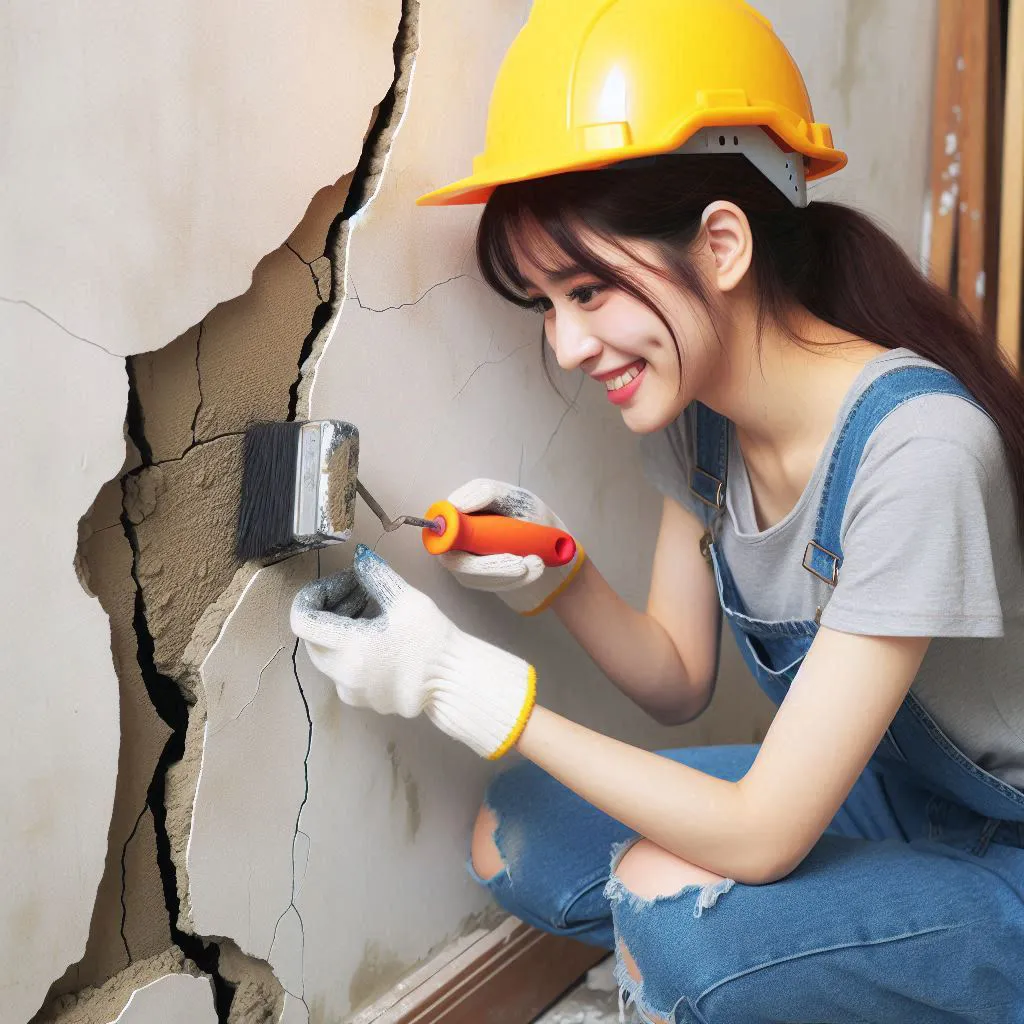
Clean the Crack: Use a wire brush to remove loose debris from the crack. If it’s a wider crack, use a chisel to create a V-shape, which helps the filler adhere better. After chiseling, vacuum the crack to eliminate dust.
Fill the Crack: For smaller structural cracks, use epoxy or polyurethane crack filler. Apply it with a trowel, pressing it into the crack and smoothing it out. For larger cracks, use concrete repair caulk to fill the gap.
Let It Cure: Allow the filler to cure according to the manufacturer’s instructions. This could take several hours to a couple of days, depending on the product used.
Finish the Wall: Once the filler is dry, you can paint over it to match the rest of the wall, just as you would with hairline cracks.
Tips for Preventing Future Cracks
While repairing cracks is essential, prevention is always better than cure. Here are some tips to help you avoid future issues:
Monitor Humidity Levels: Excess moisture can cause walls to crack. Use dehumidifiers in damp areas and ensure good ventilation to keep humidity in check.
Maintain Your Foundation: Regularly inspect your foundation and ensure proper drainage away from your home to prevent water pooling, which can weaken the structure.
Inspect Your Home Regularly: Look for signs of cracking or shifting, and address any issues promptly to prevent small problems from escalating.
Repairing wall cracks may seem daunting, but with the right approach, you can effectively tackle them yourself. Whether it’s a minor hairline crack or a more significant structural issue, understanding the type of crack and the appropriate repair method will help you restore your walls and maintain the integrity of your home. Remember, if at any point you feel uncertain about the severity of the damage, don’t hesitate to reach out to a professional. After all, a well-maintained home is a happy home!